
A wood entry door on a covered Mount Pleasant porch
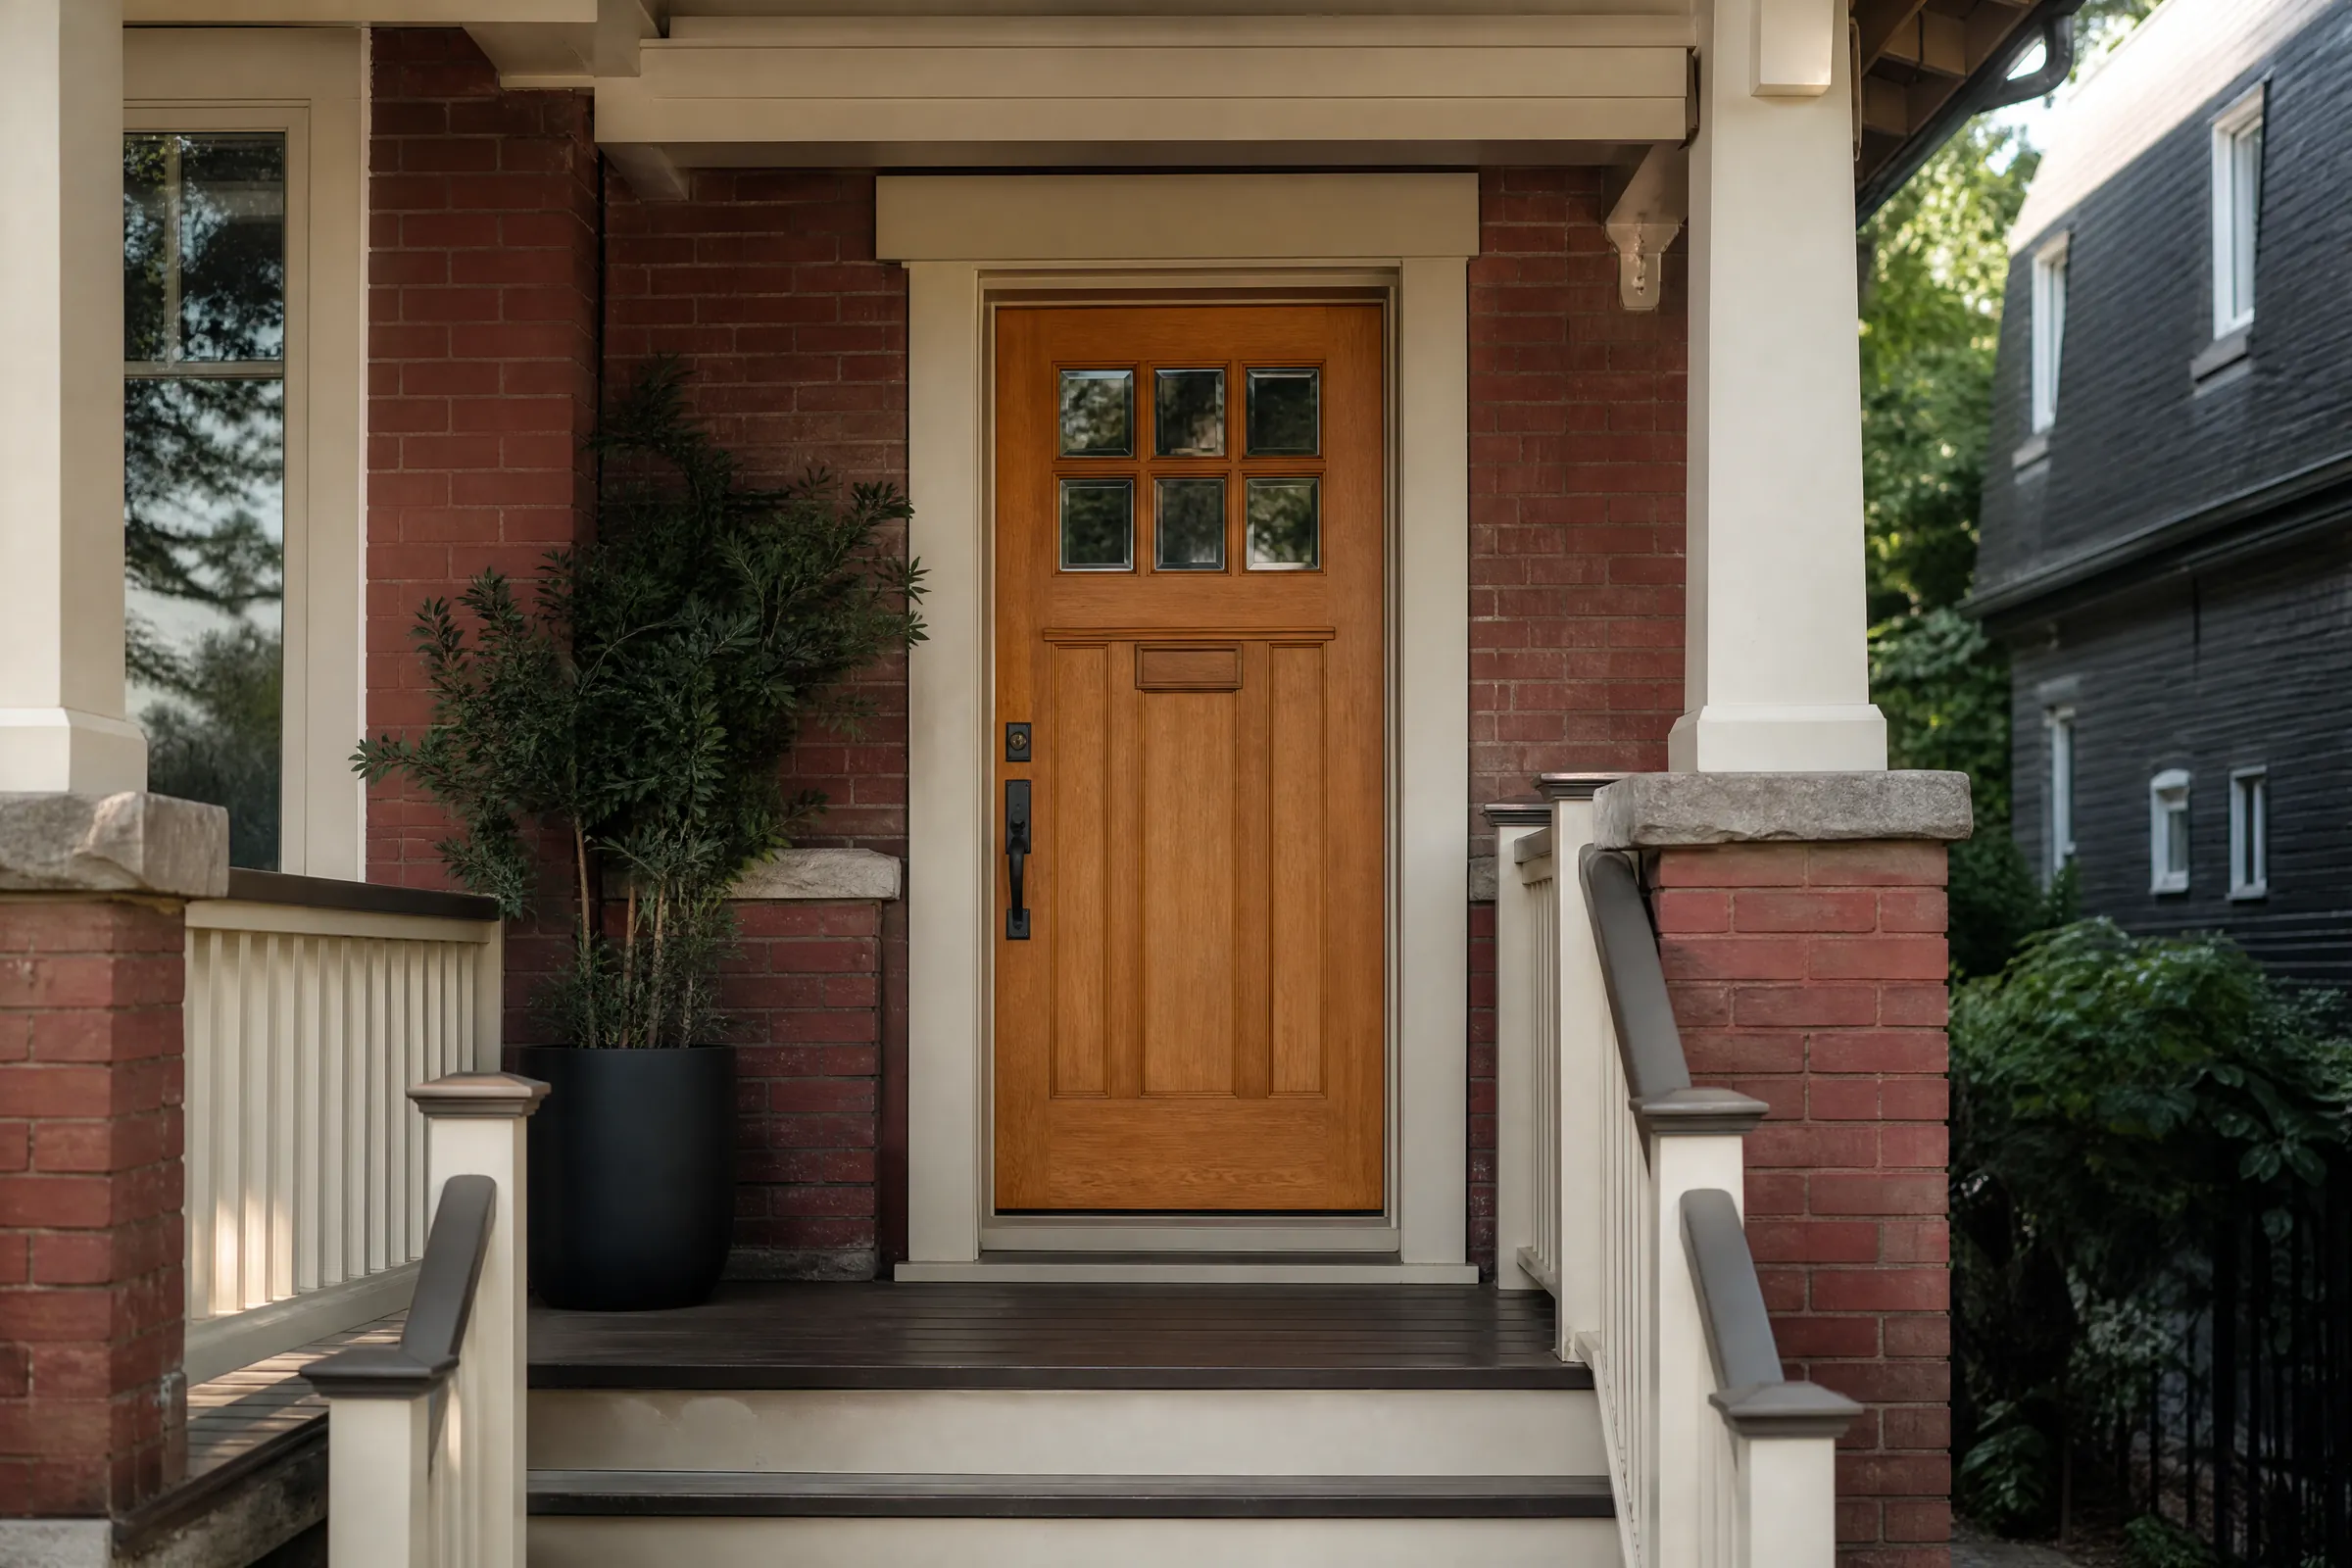
This house is a two-storey detached home in Mount Pleasant, one of the larger subdivisions that grew up in the newer parts of Brampton. The front elevation is typical of the street: a covered porch with a stone base, beige siding above it, white trim and planters on either side of the steps. The front door is solid wood with raised panels, finished from the start with a stain and a clear coat rather than paint.
The owners liked the wood and did not want to cover it with a solid colour. Their request was simple to state and fussy to carry out: bring the door back to an even, rich brown, with the grain visible from top to bottom, and keep the house secure while the work went on.
A door wearing two colours at once
A covered porch shades the top of a door but not the bottom. On this one, the porch roof kept the upper panels in shadow for most of the day, while low afternoon sun reached under the roof and hit the lower third. The result was a door that looked like two different doors stacked together. The upper half still had a deep brown tone under an intact clear coat. The lower half had bleached to a pale orange-grey, and the clear coat over it had gone cloudy, crazed into a fine network of cracks and begun to peel in small flakes along the bottom rail.
Rain bouncing off the porch floor had also reached the bottom edge. The end grain of the bottom rail had darkened, and there were short hairline checks running along the grain on the lower stile. We pressed an awl into the darkened wood at several points; it was firm everywhere, so no section needed cutting out or replacing.
Why a stained door is harder than a painted one
Paint hides a great deal. A stain and clear finish hides almost nothing, so every sanding scratch, every patch of leftover coating and every spot of filler shows through the final coats. The old clear had to come off evenly across flat panels and curved profiles alike. Sanded wood also absorbs stain differently from wood that still holds traces of old finish, so any spot we missed would have turned into a light blotch. That made the stripping stage slower and more careful than the coating stage.
Protecting the porch and stripping the old finish
- Porch and surroundings. The planters were carried out onto the lawn. Canvas drop sheets went over the porch floor and were taped along the stone base so sanding dust and stripper residue could not settle into the joints. The siding, the sidelights and the white trim around the frame were masked with paper and low-tack tape.
- Hardware. The black handleset and the deadbolt trim came off and went into a labelled bag, so nothing would need to be cut around and the finish could run cleanly behind each piece.
- Flat surfaces. Stiles, rails and the flat field of each panel were sanded with a random orbital sander, starting at 80 grit to cut through the failed coating and moving up through 120 and 150 so the scratch pattern would not show under stain.
- Moulded profiles. A sander rounds over crisp edges, so the curved profiles around each raised panel were handled differently. A gel stripper was brushed on, left for the time the label specified, lifted with plastic scrapers and card scrapers, then neutralized and wiped clean before light hand sanding with contour pads.
- Checks and end grain. We left the hairline checks open rather than filling them. Wood filler rarely takes stain the way real wood does and would have shown as pale lines. Instead, the checks were cleaned out and sealed by the stain and clear coats along with the rest of the door.
- Final cleaning. Dust was vacuumed from the profiles and the door was wiped with a tack cloth, then with a rag dampened with mineral spirits. That wipe shows roughly how the wood will look once stained and exposes any missed patches of old clear, and those spots were sanded again.
- Caulking around the frame. The sealant between the brickmould and the siding had split along one side. It was cut out and replaced with a paintable exterior sealant so water could not run behind the frame.
No primer goes on a door that is being stained. The penetrating stain and the first clear coat do the sealing work, which is why the end grain of the bottom rail took an extra flood of stain before the faces.
Stain, then clear coats
The stain coat
We brushed an oil-based penetrating exterior stain onto the door in the usual order for a panel door: the moulded profiles first, then the panels, then the rails, and the stiles last. Each section was wiped back with a lint-free rag after a few minutes so the colour sat in the wood instead of on top of it. Wiping in sections is what keeps the lap lines out of a large surface like this.
After the stain had dried for the period on the can, the door was checked under daylight from the walkway, the angle visitors see. The lower half, which had been bleached hardest, was still a shade lighter than the top, so a second, lighter application went onto the lower panels and rails only, then was wiped back to bring the two halves into line.
Three clear satin coats
The protective layers are a satin exterior spar varnish with UV absorbers, which flexes with the wood as it moves through the seasons. The first coat was thinned slightly as the label allows so it would soak into the grain. Coats two and three went on full strength. Between coats, once the recoat time on the can had passed, the surface was scuff-sanded with fine paper and wiped down so the next layer would bond. Every face and the lock and hinge edges received all three coats.
The top and bottom edges of a slab are where water gets in, and they are hard to reach with a door in place. On one dry morning the door was lifted off its hinges just long enough to coat both edges, then rehung right away, with each edge later receiving the same number of coats as the faces.
Picking a tone that sits with stone and beige
Stain choice on this porch had to work with two fixed materials: the grey-tan stone of the base and the beige siding. We tested several tones on the hinge edge of the door and on a matching offcut that could be carried around the porch, as part of our free colour consultation. The owners looked at the samples in the morning, when the porch is in shade, and again in the late afternoon, when the low sun reaches the door.
A red mahogany tone looked handsome on the offcut but turned pink against the stone in evening light. A dark walnut tone made the door read as almost black from the street. The warm mid-brown in between kept the grain visible and picked up the darker flecks in the stone. Satin was chosen over gloss because a high gloss would have shown every ripple in the old wood and thrown glare into the porch.
Keeping the entrance usable
The front door still had to lock at night. Coats were applied early so each one could dry to the touch before evening, the weatherstripping was protected with tape so the finish could not glue the door shut, and the door was closed and locked before we left each day. During the day the family used the garage entrance.
At the end of every day we vacuumed sanding dust from the porch floor and stone joints, folded the drop sheets, sealed stripper waste in a lidded container to take away, and returned the planters if rain was expected. On the last visit the black hardware went back on and the masking came off the siding and the sidelights.
What the door looks like now, and how to keep it that way
The finished door is one even warm brown from top to bottom, with the grain clearly visible through a soft satin sheen. The moulded profiles around the panels stayed sharp, and the white trim and beige siding frame it cleanly.
- Clean it with mild soap and water and a soft cloth. Avoid pressure washers and harsh cleaners, which can etch the clear coat.
- Look at the lower panels and bottom rail each spring. When they start to look dull rather than satin, a light scuff and one fresh clear coat keeps the stain protected. Waiting until the clear cracks means stripping again.
- Keep planters a little away from the door so water from watering does not splash the bottom rail.
- We left the remaining stain and clear, each labelled with the product type and where it was used, for small touch-ups.
Why this approach fits Brampton’s newer streets
Many homes in Mount Pleasant, Castlemore and Springdale have covered porches and wood or wood-look doors, and they tend to fail in the same pattern: the top stays dark while the bottom bleaches and peels from sun under the porch roof and splash off the floor. Freeze-thaw winters then open any crack in the clear coat. Refinishing before the wood itself starts to grey is far less work than repairing weathered wood later. We do front door refinishing as its own job, separate from a full exterior, and it is often one of the first exterior items owners in Brampton subdivisions ask about. The same stain-and-clear approach applies to doors elsewhere in Peel Region. If your stained door is showing a two-tone fade, photos sent through our contact page are usually enough for an itemized quote covering the stripping, staining and clear coats.