
If you own an older Toronto home, chances are at least one room still wears a bumpy, shadow-casting popcorn ceiling from the 1960s, 70s, or 80s. Removing it is one of the highest-impact upgrades you can make, and the first question every homeowner asks is simple: what is the real popcorn ceiling removal cost in the GTA for 2026? The honest answer is that popcorn ceiling removal cost depends on square footage, ceiling height, whether the texture was ever painted, and whether the material tests positive for asbestos. In this guide, the team at All Painting breaks down realistic 2026 pricing, the full scraping and refinishing process, timelines, and how to budget accurately so there are no surprises when the drop sheets come down.
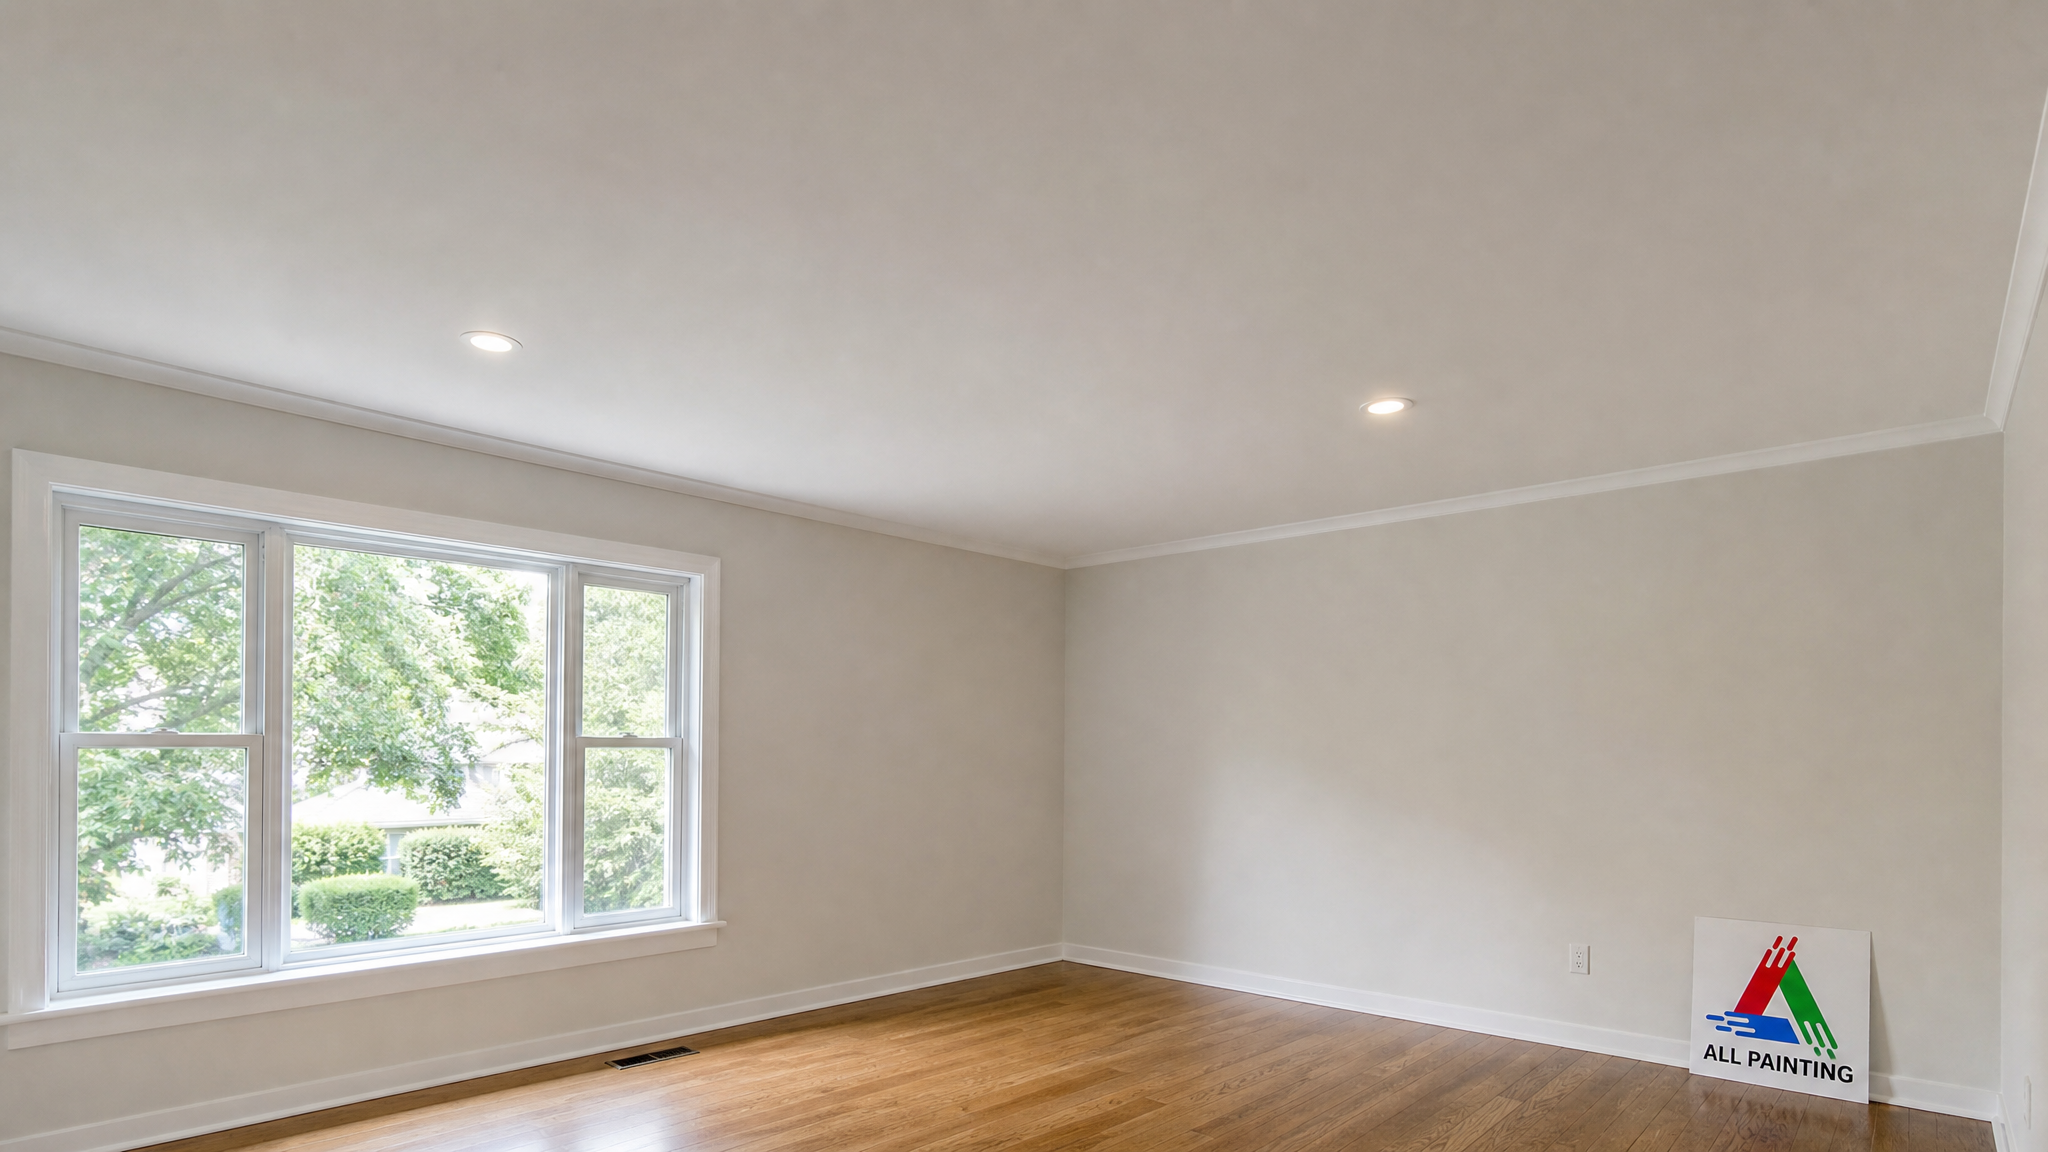
Warm summer weather is the ideal window for this work. Open windows speed drying, low humidity helps the new skim coat and paint cure faster, and you can ventilate the dust without fighting the cold. Below, we walk through every cost driver, the step-by-step process our painters follow, and the finishing options that give you a flawless flat or lightly textured ceiling.
What Drives Popcorn Ceiling Removal Cost in Toronto?
The single biggest factor in popcorn ceiling removal cost is the total ceiling area, but several other variables move the final number up or down. Understanding each one helps you read a quote intelligently and compare contractors fairly. A small bedroom is a very different job from an open-concept main floor with nine-foot ceilings, and pricing should reflect that.
Here are the main cost drivers our estimators weigh on every GTA project:
- Square footage — Larger ceilings cost more in total but often less per square foot because setup and cleanup are fixed costs spread across more area.
- Ceiling height — Standard eight-foot ceilings are quick; vaulted, cathedral, or stairwell ceilings need scaffolding and add labour.
- Painted vs. unpainted texture — Unpainted popcorn absorbs water and scrapes off easily. Painted texture resists moisture and often must be sanded or skim-coated, raising the price.
- Asbestos content — Texture applied before the mid-1980s may contain asbestos and requires lab testing and, if positive, licensed abatement.
- Condition of the drywall underneath — Cracks, water stains, or poor original taping mean extra drywall repairs before the ceiling can be smoothed and painted.
- Finish level — A dead-flat smooth ceiling costs more than a light knockdown or orange-peel texture because it demands more skim coating and sanding.
2026 Popcorn Ceiling Removal Cost Breakdown by Room Size
To give you a practical starting point, the table below shows typical 2026 GTA pricing ranges for unpainted, asbestos-free popcorn removal including scraping, skim coating, priming, and two coats of ceiling paint. These figures assume standard eight-foot ceilings in reasonable condition. Painted texture, high ceilings, or asbestos abatement will push costs above these ranges, which we cover in the next sections.
| Room / Area | Approx. Size | Typical 2026 Cost Range | Estimated Timeline |
|---|---|---|---|
| Single bedroom | 120–150 sq ft | $450 – $800 | 1 day |
| Living room | 200–300 sq ft | $800 – $1,500 | 1–2 days |
| Hallway + stairwell | 100–200 sq ft | $600 – $1,200 | 1–2 days |
| Full main floor (open concept) | 600–900 sq ft | $2,400 – $4,500 | 3–5 days |
| Whole home (1,500 sq ft ceilings) | 1,500 sq ft | $4,500 – $8,000 | 5–8 days |
As a rough per-square-foot benchmark, most GTA homeowners should budget roughly $3 to $6 per square foot for a complete scrape-and-refinish job in 2026. The lower end applies to simple, unpainted, single-room work; the upper end reflects painted texture, taller ceilings, or extensive skim coating. When a quote comes in dramatically below this range, ask what is excluded, as skim coating and priming are often left out of bargain bids.
Asbestos Testing: The Cost Factor You Cannot Skip
Any popcorn ceiling installed before roughly 1986 in Ontario may contain asbestos, which was commonly added to spray texture for fire resistance and durability. This is the most important safety consideration in your entire budget, and it directly affects popcorn ceiling removal cost. You cannot tell whether texture contains asbestos by looking at it; only a certified lab can confirm it. Never scrape an untested older ceiling, because disturbing asbestos releases microscopic fibres that pose serious long-term health risks.
A lab test typically costs $50 to $150 per sample, and we recommend testing every distinct texture or era of ceiling in the home. If the result is negative, work proceeds as normal. If it is positive, the material must be removed by a licensed abatement contractor following provincial regulations, which involves sealed containment, negative-air machines, and certified disposal. Abatement adds significantly to the project, often $10 to $20 per square foot or more, but it is non-negotiable for your family’s safety.
| Scenario | What It Involves | Added Cost Impact |
|---|---|---|
| Asbestos test (per sample) | Lab analysis of a small texture sample | $50 – $150 each |
| Negative result | Standard scraping and refinishing proceeds | No added cost |
| Positive result — small area | Licensed containment and removal | $1,500 – $3,000+ |
| Positive result — whole home | Full abatement with air monitoring | $10 – $20+ per sq ft |
| Encapsulation alternative | Sealing texture rather than removing it | $2 – $4 per sq ft |
Homes built or renovated after the late 1980s are generally clear, but if you are unsure of your home’s history, testing is inexpensive insurance. Our estimators always ask about the build date during the consultation so we can advise you before any scraping begins.
The Popcorn Ceiling Removal Process Step by Step
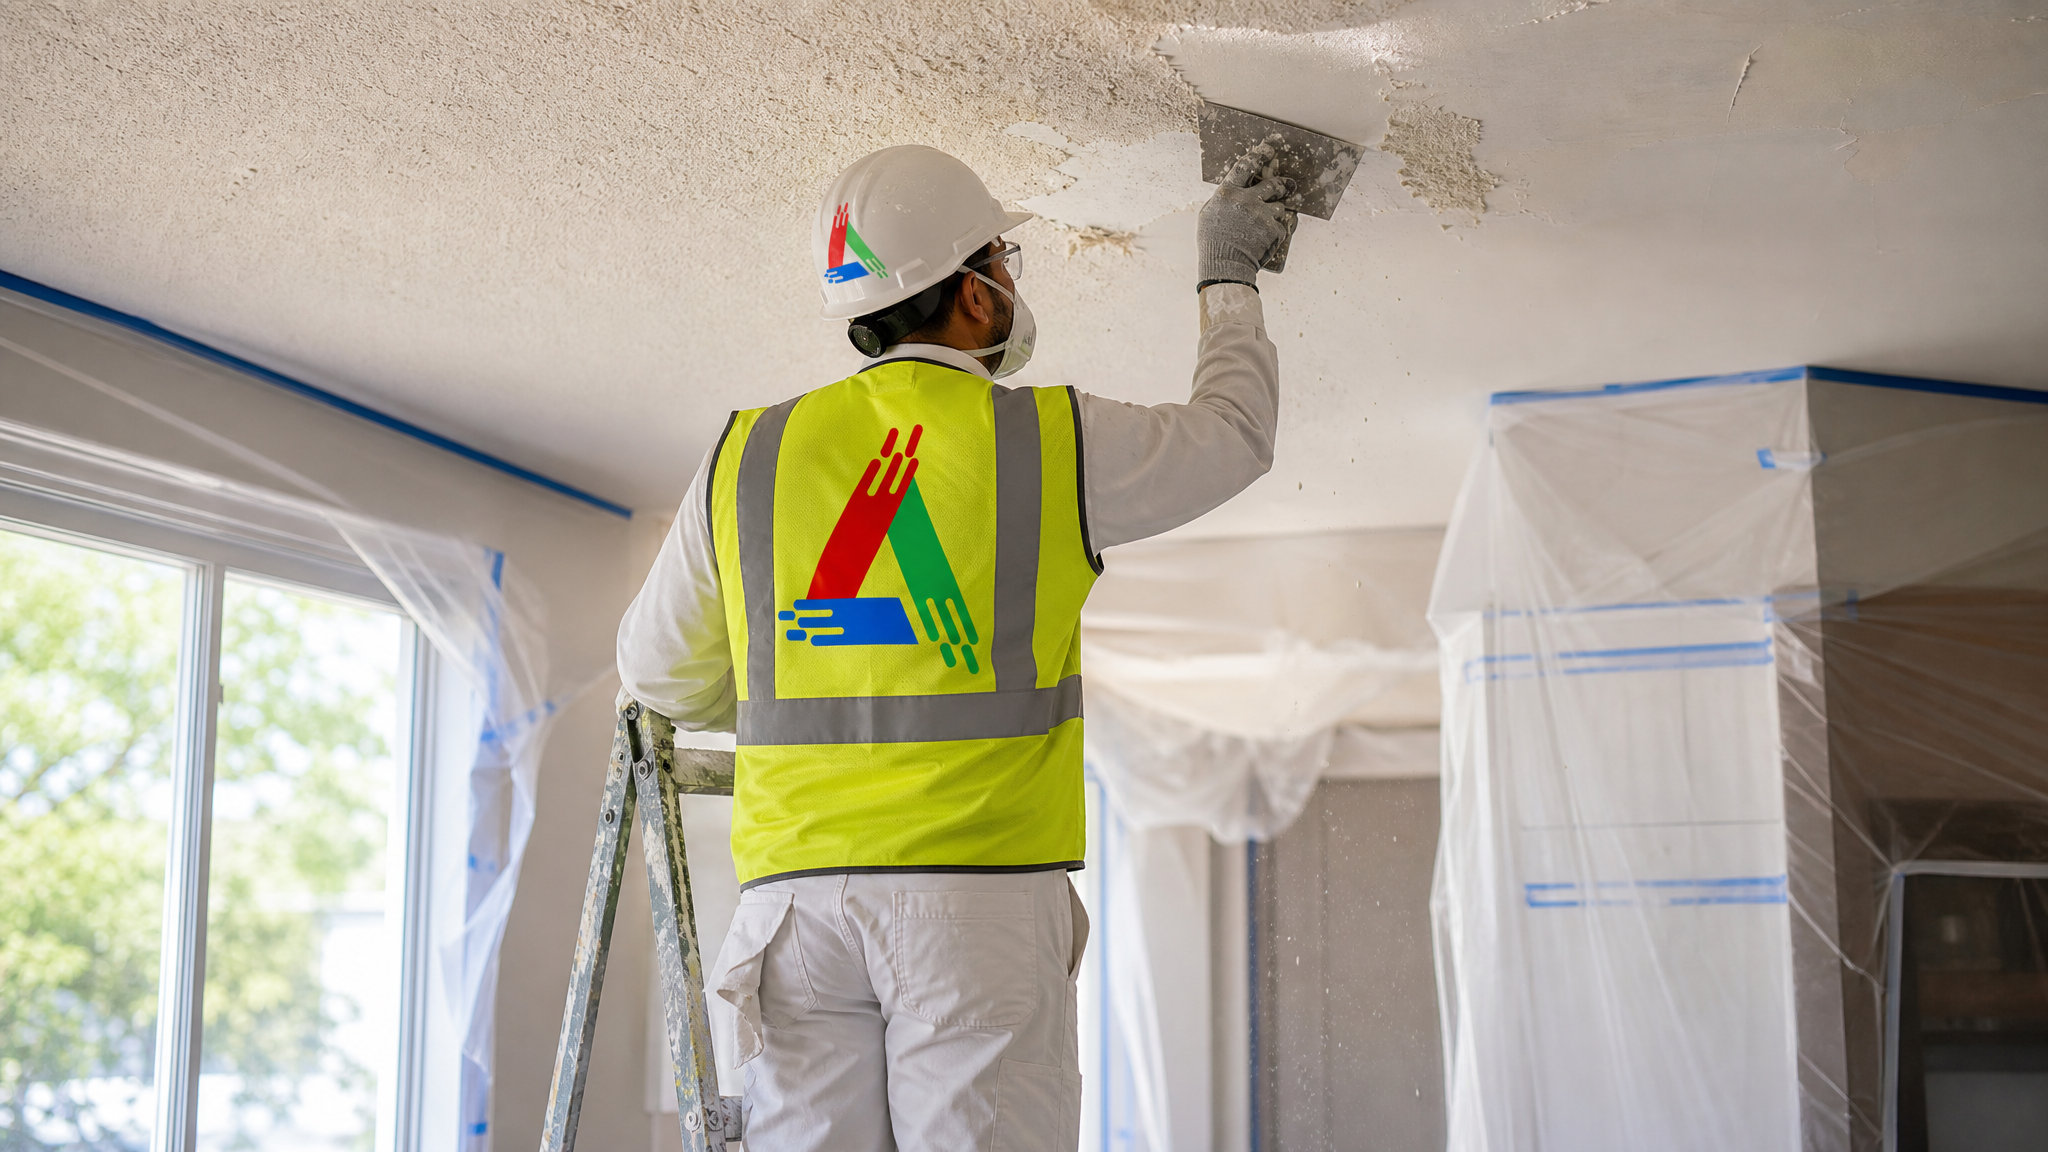
A clean, professional result comes from disciplined preparation and patient finishing. Cutting corners on prep is the number-one reason DIY popcorn removal ends in patchy, streaky ceilings. Here is the full process our crews follow on every GTA job, which is also why professional popcorn ceiling removal cost reflects genuine labour rather than a quick scrape.
- Protect the space — We clear or centre the furniture, cover it with plastic, and lay heavy drop sheets and rosin paper across the entire floor. Walls get masked with tape and film, and we cover outlets and fixtures.
- Test and confirm — For pre-1986 homes, we confirm the asbestos test result is negative before any scraping.
- Mist the texture — Unpainted popcorn is lightly misted with water using a garden sprayer. After 10 to 15 minutes the texture softens and releases cleanly, which also keeps dust down.
- Scrape carefully — Using wide taping knives, we scrape the softened texture off in sections, taking care not to gouge the drywall or damage the tape joints underneath.
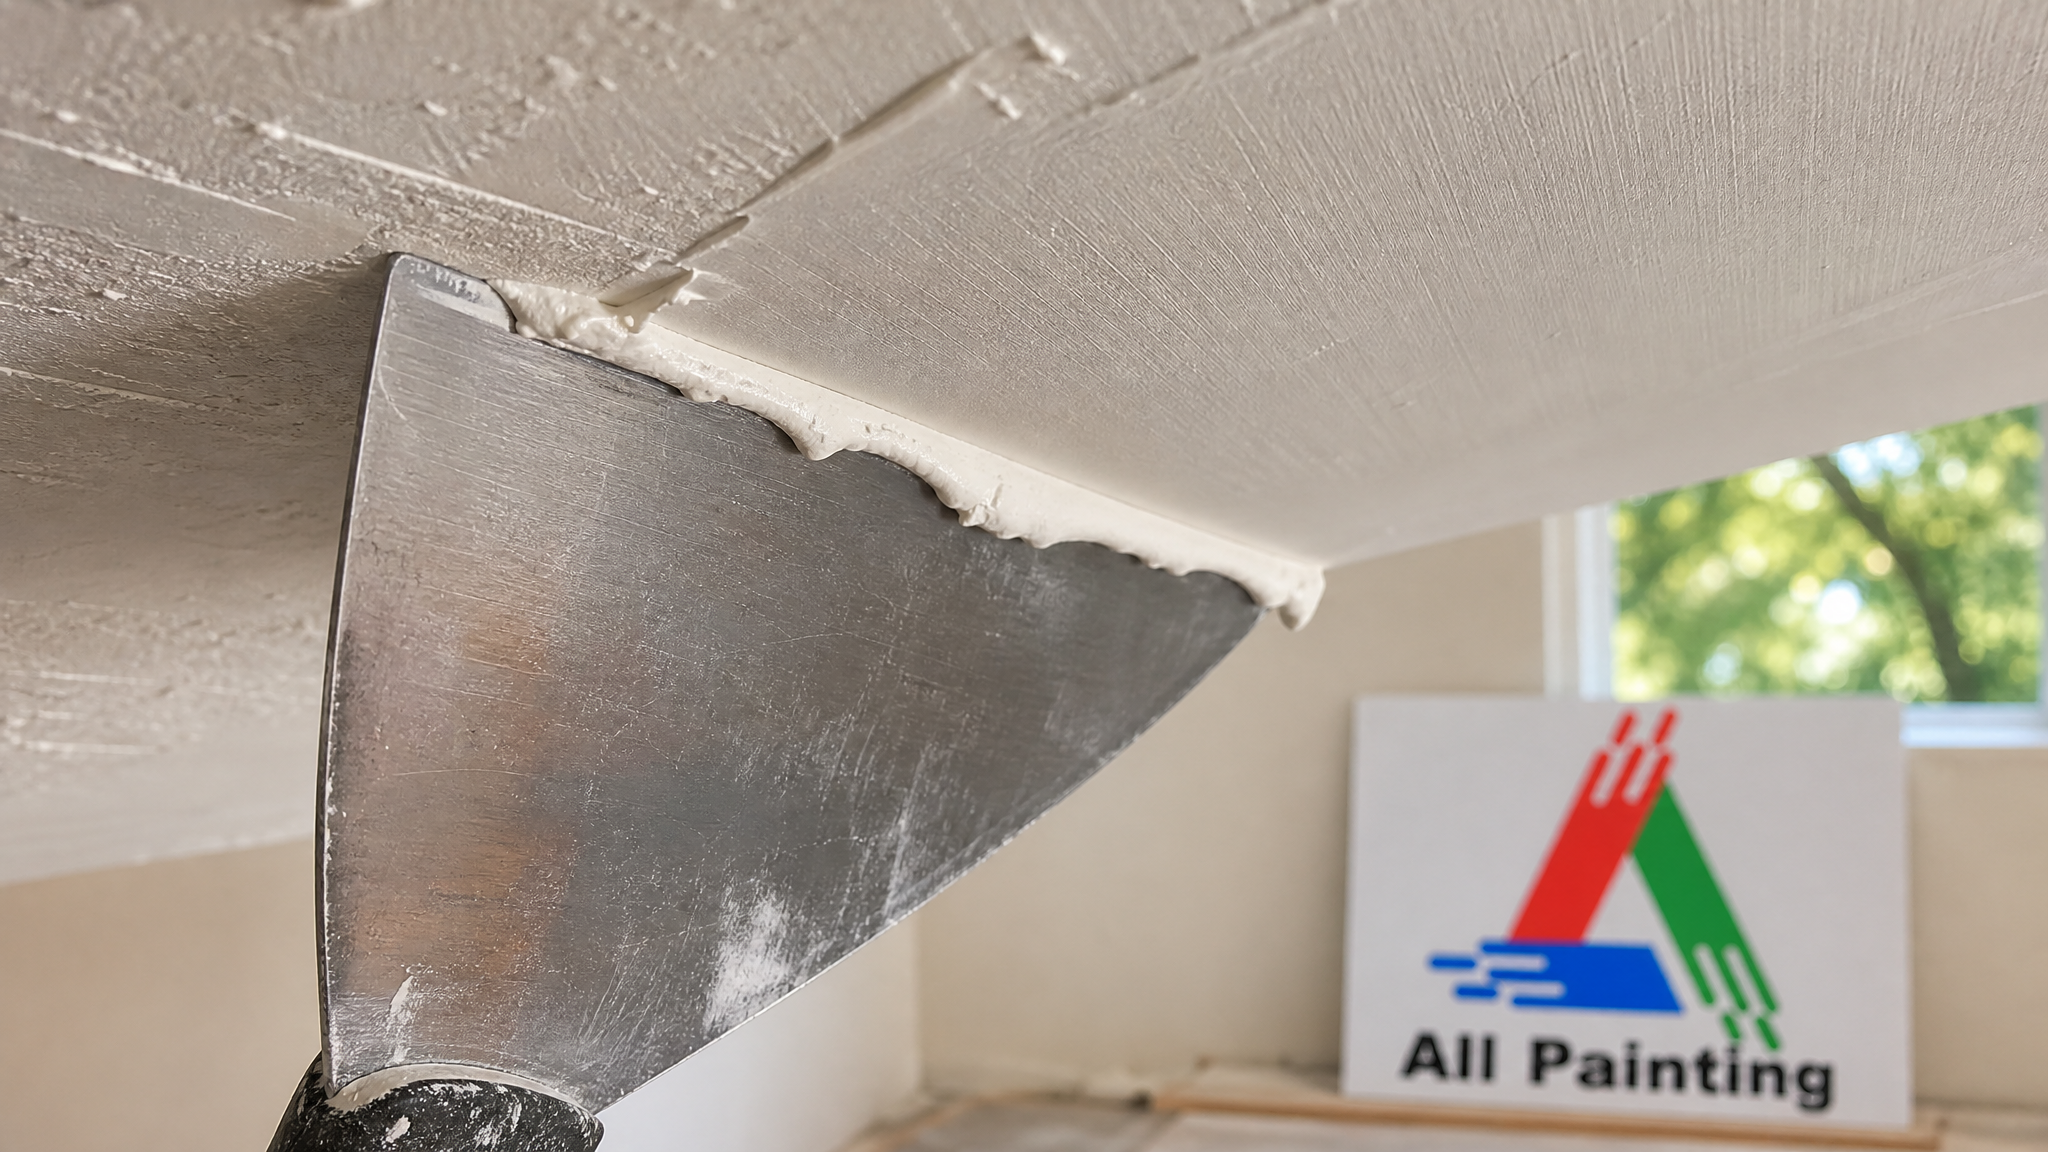
- Repair and skim — Any gouges, cracks, or old water stains are patched. We then apply a skim coat of joint compound across the ceiling to level it into a smooth, uniform surface.
- Sand smooth — Once dry, the skim coat is sanded to a flat, blemish-free finish, then wiped and vacuumed clean.
- Prime and paint — We roll on a quality primer to seal the fresh compound, followed by two coats of flat or matte ceiling paint for an even, bright result.
Summer is genuinely the best season for this sequence. Warm, dry air shortens the drying time between the skim coat, primer, and paint, so a job that might stall in damp winter conditions moves briskly in July. Good ventilation also clears the fine sanding dust much faster.
Smooth Ceiling vs. New Texture: Finishing Options and Cost
Once the popcorn is gone, you decide how the finished ceiling should look. The most popular choice in modern Toronto homes is a dead-flat smooth ceiling, which feels clean and contemporary and reflects light beautifully. However, a smooth finish is also the most labour-intensive because every imperfection shows, so it carries the highest finishing cost. Lighter textures can hide minor flaws and cost less to apply.
Here is how the common finish options compare:
- Smooth flat finish — The premium modern look. Requires full skim coating and careful sanding. Best paired with quality flat ceiling paint. Highest finishing cost.
- Knockdown texture — A subtle, mottled pattern applied with a trowel. Hides imperfections and costs less than a fully smooth finish.
- Orange peel texture — A fine, sprayed stipple that is quick to apply and forgiving of minor flaws. The most economical retexture option.
- Encapsulation — When removal is not practical (for example, confirmed asbestos), the texture can be sealed and painted in place rather than scraped.
Most of our clients pair a new smooth ceiling with fresh wall colour, and a ceiling project is the perfect moment to refresh a whole room. If you are already investing in the space, coordinating the ceiling with professional interior painting gives you a fully finished result in one trip, with one crew and one set of drop sheets. Many homeowners also add wallpaper removal or a staircase refinish while the protection is already down.
How to Save on Popcorn Ceiling Removal Without Cutting Corners
There are smart, safe ways to reduce your popcorn ceiling removal cost, and there are false economies that cost more later. The goal is to lower the price without compromising the asbestos testing, skim coating, or paint quality that make the finish last. Here are the levers that genuinely help.
Bundling rooms is the most effective saving. Because setup, masking, and cleanup are fixed costs, doing several ceilings in one visit lowers the per-room price compared with calling us back for each one. Clearing the rooms yourself before we arrive also trims labour, since our crew spends less time moving and covering furniture. Choosing a light knockdown or orange-peel finish instead of a fully smooth ceiling reduces skim-coating labour in rooms where a perfectly flat finish is not essential, such as closets or laundry areas.
What you should never trim is the testing on an older home, the skim coat that levels the surface, or the primer that seals fresh compound. Skipping any of these leads to visible seams, flashing, or peeling within a year. A well-priced professional job that is done properly is far cheaper than paying twice. If you are coordinating exterior work such as exterior painting at the same time, ask about combined scheduling for additional efficiency.
Why Toronto Homeowners Hire Professionals for This Job
Popcorn removal looks simple on video, but the reality is dusty, physically demanding, and unforgiving of mistakes. The overhead scraping is exhausting, wet compound is heavy and messy, and achieving a truly flat, shadow-free ceiling takes an experienced hand with a taping knife. A single missed skim pass shows up starkly under daylight and pot lights. This is why the professional popcorn ceiling removal cost reflects skilled labour that protects both your home and your result.
A qualified painting crew brings the right containment, dust control, and finishing skill, and handles the asbestos protocol correctly on older homes. We serve homeowners across the region, from Mississauga and Oakville to Markham and beyond, and every project is protected floor to ceiling before a single scrape begins. You can read genuine feedback on our reviews page and learn more about our team before you book.
Frequently Asked Questions About Popcorn Ceiling Removal Cost
What to Look for When Comparing Popcorn Ceiling Removal Cost Quotes
Not every quote for popcorn ceiling removal cost in Toronto includes the same scope, and understanding the differences protects you from surprises later. The table below shows what separates a bargain bid from a professional one, and why the cheapest number is rarely the best value once quality and longevity are factored in.
| Element | Budget / Cut-Corner Job | Professional Job | Why It Matters |
|---|---|---|---|
| Surface preparation | Minimal or skipped | Thorough cleaning, sanding, priming | Determines how long the finish lasts |
| Products | Contractor-grade, thinned | Premium, correctly applied | Coverage, colour retention, durability |
| Number of coats | One thin coat | Correct build for the surface | Even finish and true colour |
| Cleanup and protection | Little masking | Full drop sheets, taping, tidy site | Protects your home during the work |
What is the average popcorn ceiling removal cost per square foot in Toronto for 2026?
Does asbestos testing increase the popcorn ceiling removal cost?
Why does a painted popcorn ceiling cost more to remove?
How long does a popcorn ceiling removal project take?
Can I lower my popcorn ceiling removal cost by clearing the room myself?
Should I choose a smooth or textured finish after removal?
Get an Accurate Popcorn Ceiling Removal Cost Estimate Today
Every home is different, and the only way to get a precise number is a proper on-site assessment. The professionals at All Painting will measure your ceilings, advise on asbestos testing where needed, and give you a clear, itemized quote so you know exactly what your popcorn ceiling removal cost covers, with no surprises. Summer is the ideal time to book, with fast drying and easy ventilation working in your favour.
Call us today at (416) 710-4224 or request a free quote to get started.
All Painting proudly serves Toronto, Mississauga, Oakville, Markham, Burlington, Hamilton, Richmond Hill and the GTA.