
Repainting a room that has been drenched in a deep navy, charcoal, burgundy, or forest green is one of the most common challenges Toronto homeowners bring to us during the busy summer season. Going lighter feels like it should be simple, yet painting over dark walls is where do-it-yourself projects most often fall apart. Rollers leave patchy ghosting, the old colour bleeds through the new coat, and what should have been a two-day refresh drags into a frustrating weekend of coat after coat. The reason professional painters get flawless, full coverage while a weekend attempt looks blotchy comes down to preparation, the right primer, and a disciplined application system. This guide walks through exactly how our GTA crews handle painting over dark walls so you understand what full coverage really takes, what it costs in 2026, and how to get a finish that looks factory-smooth.
Why Painting Over Dark Walls Is So Difficult
The core problem with painting over dark walls is contrast. A saturated colour contains a heavy load of tinted pigment, and lighter paints are formulated to be somewhat translucent so their own tint reads true. When you brush a bright, low-pigment topcoat over an intense base, the dark colour telegraphs straight through, especially in the recessed areas a roller cannot fully press paint into. Homeowners respond by piling on more coats, but each additional coat adds thickness, drips, and roller texture without actually solving the underlying opacity problem.
There is also a sheen factor. Many older Toronto homes and rental units were finished in a dark eggshell or satin that has been wiped down, scuffed, and touched up over years. That slick, sometimes greasy surface resists adhesion, so a fresh coat can look uneven even where coverage is technically complete. Getting this right is why so many people search for a professional approach to painting over dark walls rather than fighting it themselves. Our interior painting crews treat a dark-to-light change as a distinct system, not just “another coat,” and that mindset is what produces a clean result.
Colour temperature matters too. Covering a warm dark like chocolate brown or burgundy with a cool grey behaves differently than covering a cool navy with a warm cream. Undertones fight each other, and without a tinted primer to neutralise the base, the finished wall can pick up a muddy or greenish cast in certain light. Our estimators analyse the existing colour and the target colour together before recommending a primer strategy, because the relationship between the two determines everything that follows.
The Prep Work That Makes or Breaks Full Coverage
Before a drop of paint touches the wall, the surface has to be prepared properly. Skipping prep is the single biggest reason painting over dark walls fails. Our standard interior prep sequence looks like this, and every step earns its place.
First, we clean. Walls in kitchens, hallways, and homes with pets or smokers carry a film of grease and grime that primer will not stick to. We wash surfaces with a degreasing cleaner and let them dry fully. Second, we repair. Nail holes, dents, cracked corners, and old anchor holes are filled with a quality compound, then sanded flush. If you have deeper damage or textured patches, our drywall repairs team addresses those so the wall is a uniform, sound surface before priming.
Third, we sand and de-gloss. A light scuff-sand across the whole wall knocks down the sheen of an old satin or semi-gloss and gives the primer something to grip. Fourth, we mask and protect. Painter’s tape goes along trim, baseboards, and ceilings, and drop sheets cover the entire floor and any furniture that stays in the room. This is not optional polish; clean lines and protected surfaces are part of what separates a professional finish from a rushed one. In the warm, dry summer air of July, cleaned and sanded walls cure and dry faster, which is exactly why so many GTA homeowners book their repaints in the warm season.
Primer Is the Secret to Painting Over Dark Walls
If there is one professional secret to painting over dark walls, it is this: prime with a tinted primer. A high-hide bonding or stain-blocking primer does the heavy lifting of neutralising the old colour so your finish coats only have to deliver the new colour, not fight the old one. We tint the primer toward the final colour, typically to a mid-grey when going from very dark to light, so the transition happens in the primer stage rather than costing you three or four finish coats.
The payoff is real. With a properly tinted primer, most dark-to-light changes are fully covered in the primer plus two finish coats. Without primer, the same wall might need four or five coats and still show shadows. Primer also seals porous patched areas so they do not flash, and it locks down any water stains, marker, or old oil-based paint that would otherwise bleed. The table below shows how we match primer to the situation.
| Situation | Recommended Primer | Tint Level | Why It Works |
|---|---|---|---|
| Deep navy or charcoal to white | High-hide acrylic bonding primer | Mid-grey (P4 grey) | Neutralises heavy pigment in one pass |
| Burgundy or red to soft neutral | Stain-blocking primer | Grey-tinted | Reds bleed; blocking primer seals them |
| Dark glossy accent wall | Bonding primer for slick surfaces | Tinted toward topcoat | Grips sheen that latex alone slides off |
| Water-stained dark ceiling or wall | Shellac or oil-based stain blocker | White or light | Prevents stains reappearing through paint |
| Dark to a bright saturated colour | Grey-shade primer matched to formula | Manufacturer grey shade 1-8 | Brings vivid colours to full depth faster |
Choosing the Right Paint and Finish
Not all wall paint hides equally. When painting over dark walls, we reach for premium paint lines with high volume solids and strong opacity ratings, because a better paint genuinely covers in fewer coats and levels out roller marks as it dries. A cheaper paint may seem to save money, but you pay it back in extra coats, extra labour, and a less durable finish.
Finish sheen is a decision worth making deliberately. A flat or matte finish hides wall imperfections beautifully and is forgiving on older Toronto plaster, but it is harder to wipe clean. An eggshell offers a subtle glow and is our most-requested finish for living rooms and bedrooms. Satin holds up to scrubbing in hallways, kitchens, and kids’ rooms. Semi-gloss is reserved for trim, doors, and high-moisture rooms. The following table lays out how we match sheen to room and goal.
| Sheen | Best Rooms | Hides Flaws | Washability |
|---|---|---|---|
| Flat / Matte | Ceilings, low-traffic bedrooms | Excellent | Low |
| Eggshell | Living rooms, bedrooms, dining | Very good | Moderate |
| Satin | Hallways, kitchens, kids’ rooms | Good | High |
| Semi-gloss | Trim, doors, bathrooms, laundry | Fair | Very high |
| High-gloss | Feature trim, cabinetry accents | Poor | Excellent |
The Professional Application System, Step by Step
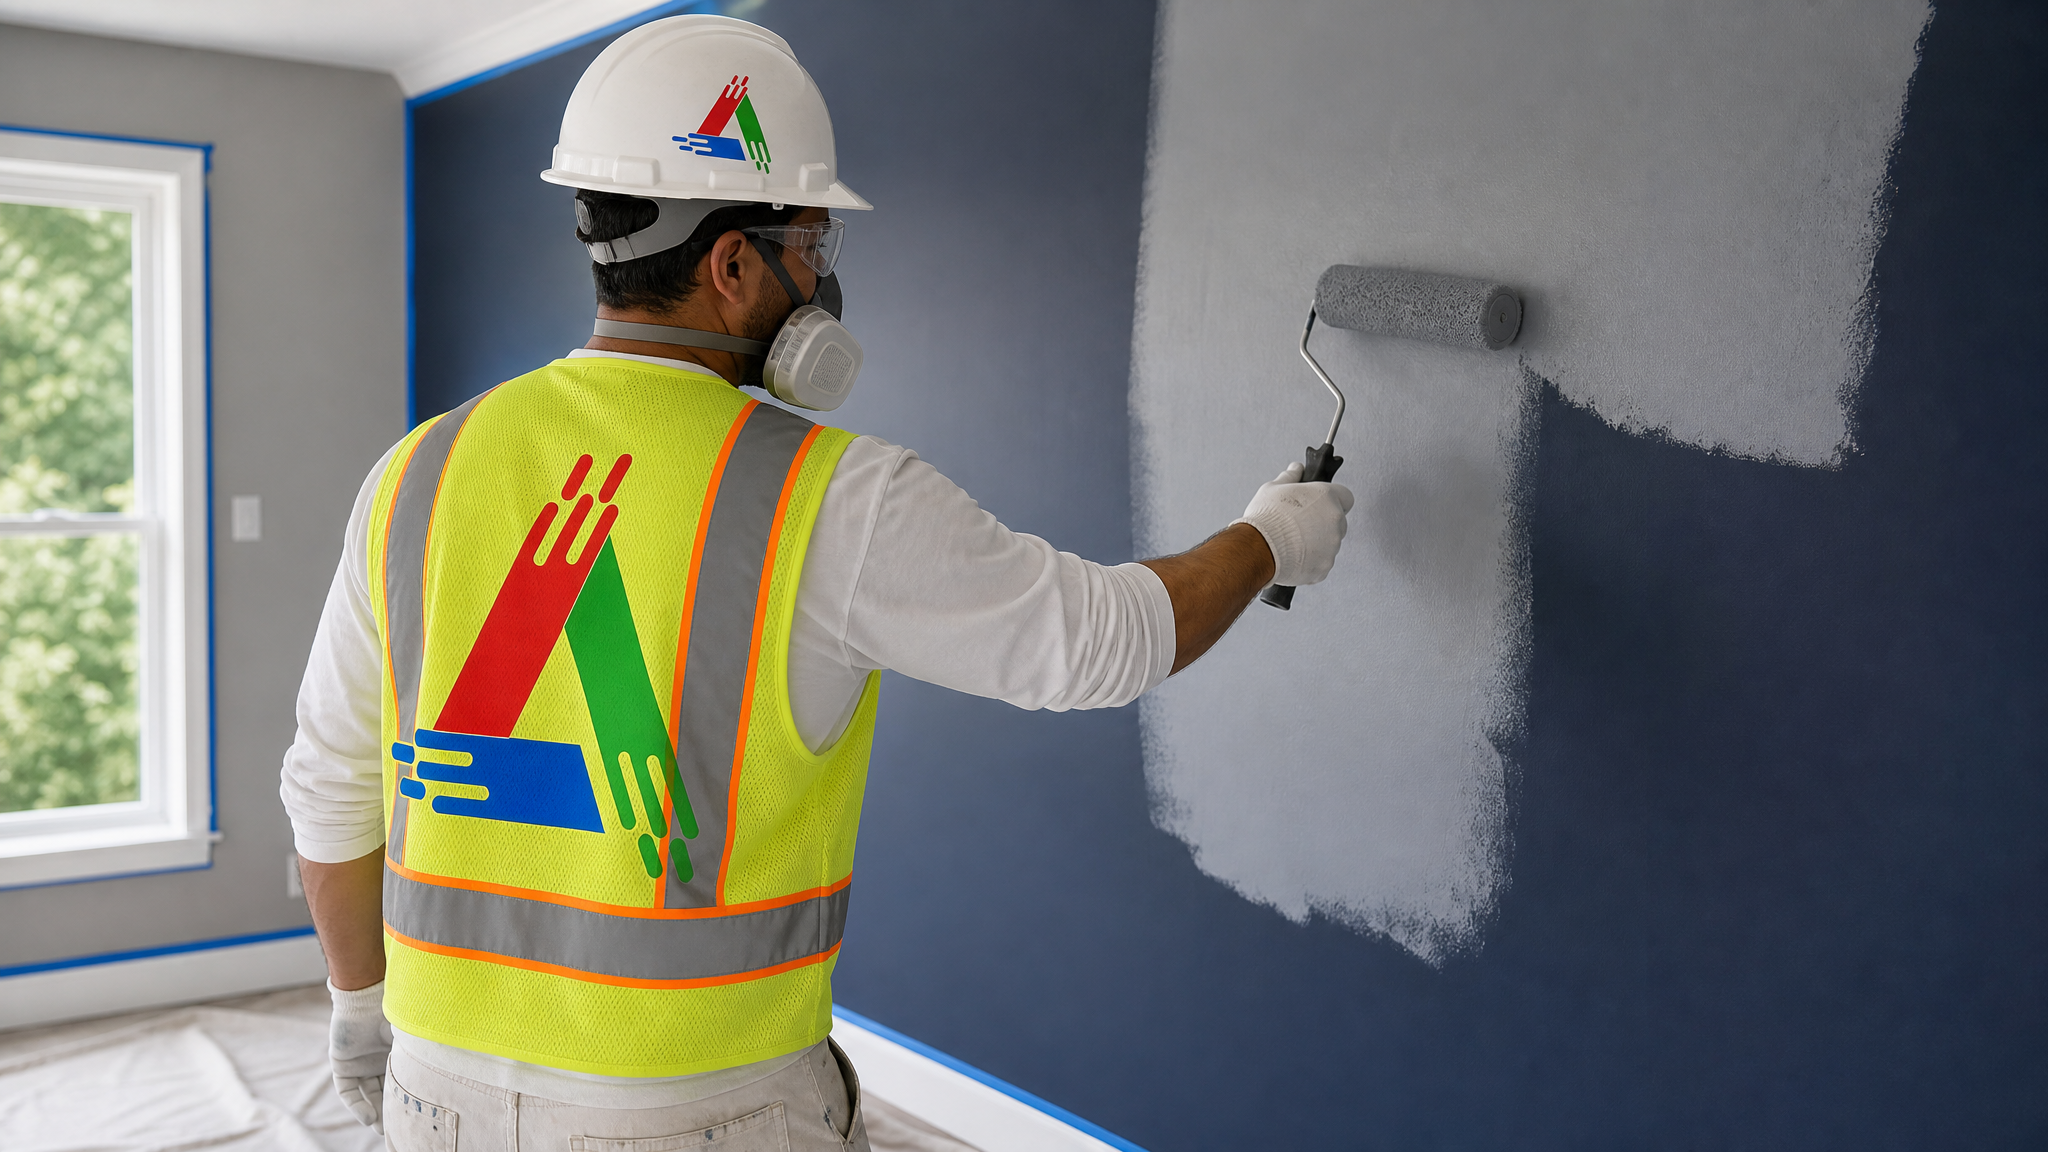
Application technique is where experience shows. Painting over dark walls demands a consistent, methodical system so every square metre gets the same paint load. Here is how our crews work through a room.
We cut in first, using an angled brush to paint a clean band along the ceiling line, corners, and trim edges. Cutting in creates the crisp lines that make a job look finished. Then we roll, working in manageable sections and keeping a wet edge so the roller strokes blend seamlessly rather than leaving lap marks. We load the roller generously but not to the point of dripping, and we roll in a consistent direction to lay the paint down evenly. After the primer, we inspect under raking light to catch any thin spots before the finish coats go on.
Each coat is given proper dry time. Rushing the second coat before the first has set is a classic cause of streaking and peeling. In Toronto’s warm July conditions, recoat times shorten, but we still respect the manufacturer’s window rather than guessing. For larger open-concept spaces or feature walls, spraying can deliver an ultra-smooth result, and our team decides between rolling and spraying based on the room, the furniture, and the finish you want. The same disciplined system carries across our full range of house painting services, whether it is a single accent wall or a whole home.
How Much Does Painting Over Dark Walls Cost in 2026?
Because painting over dark walls usually requires a primer plus two finish coats, it costs a little more than a like-for-like colour refresh, but far less than people fear once they see how efficient a professional system is. Pricing in the GTA for 2026 depends on room size, wall height, the amount of prep and repair, and how dramatic the colour change is. The table below gives realistic ranges for a professionally completed job including primer, premium paint, and labour.
| Project Scope | Approx. 2026 Price (CAD) | Coats Typically Needed | Timeline |
|---|---|---|---|
| Single bedroom, dark to light | $650 – $1,100 | Primer + 2 | 1 – 2 days |
| Living / dining open area | $1,400 – $2,600 | Primer + 2 | 2 – 3 days |
| Single dark accent wall | $300 – $600 | Primer + 2 | 1 day |
| Whole main floor repaint | $3,200 – $6,500 | Primer + 2 | 3 – 5 days |
| Condo unit, dark to neutral | $1,800 – $3,800 | Primer + 2 | 2 – 4 days |
These figures reflect the reality that a quality tinted primer actually saves money by cutting the number of finish coats. Trying to skip primer to save a small amount usually backfires into extra paint and extra hours. For condo owners, colour changes often come with building rules and elevator booking windows, which is why our condominium painting team handles the logistics alongside the painting. Homeowners across the region can request a firm, itemised quote so there are no surprises.
Serving Toronto and the Greater GTA
All Painting has been transforming dark, dated rooms into bright, modern spaces across the entire Greater Toronto Area, and summer is our peak season for exactly this kind of interior refresh. Whether you are updating a heritage home downtown, a new build in the suburbs, or a rental you are preparing for market, the same professional approach to painting over dark walls applies. We work throughout the city and out to the surrounding communities including Mississauga, Oakville, Markham, and beyond.
Beyond interior colour changes, our crews handle exterior work in the warm season too, from exterior painting to deck and fence staining, all of which benefit from dry summer weather. If you are considering an interior refresh, you can read genuine customer feedback on our reviews page to see the results other GTA homeowners have had. No matter the surface, our goal is the same: complete, even coverage that looks professionally finished from every angle.
Do I really need primer when painting over dark walls?
How many coats does painting over dark walls usually take?
Why does my dark wall still show through after two coats?
Can I paint a light colour over a dark accent wall myself?
Is summer a good time for painting over dark walls in Toronto?
What finish should I choose after covering a dark wall?
Ready for Flawless Results Painting Over Dark Walls?
Transforming a dark, dated room into a bright, modern space is exactly what we do best, and getting painting over dark walls right takes the professional prep, priming, and application system described above. All Painting brings the premium primers, high-hide paints, and disciplined crews that deliver complete, even coverage the first time.
Call us today at (416) 710-4224 or request a free quote to get started.
All Painting proudly serves Toronto, Mississauga, Oakville, Markham, Burlington, Hamilton, Richmond Hill and the GTA.